John Bear, an amazing sculptor here in St. John’s started making these great skulls and gargoyles with Santa hats. I had to have one! We did a swap and he gave me one of his bisqued pieces and I glazed it. So I used a red underglaze and white glaze for the hat and the skull is a saturated metallic glaze I ordered from Tucker’s. Very pleased with how it turned out.
Tag Archives: clay
The Salt Pig/Cellar
What did people use before salt shakers were invented?
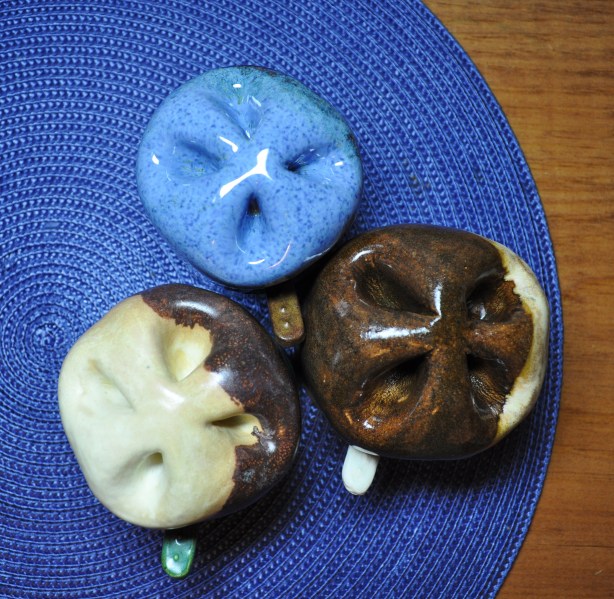
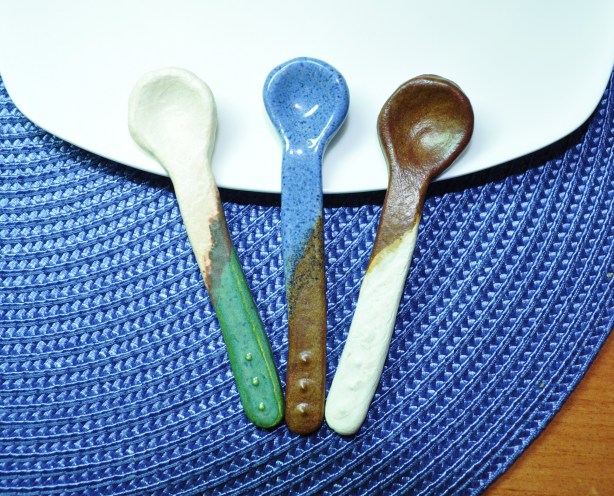
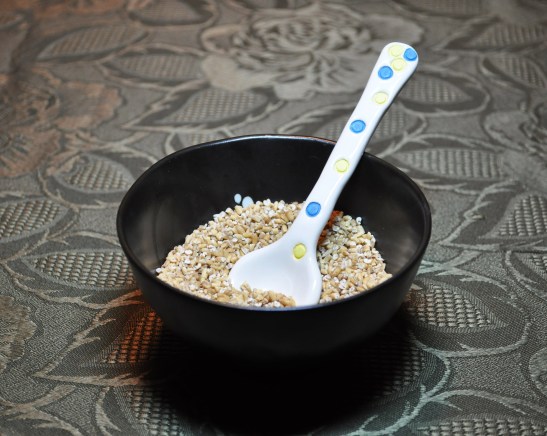
Salt pigs and salt cellars! These little guys were really popular in the 1940’s and usually made out of silver or glass; however, they seem to be making a comeback.
I made a few of my own in the past month. I think they’re an adorable idea, not so much for the table but for cooking. Plus, you don’t have to limit yourself to salt. You can store sugar or your favorite spices in them too!
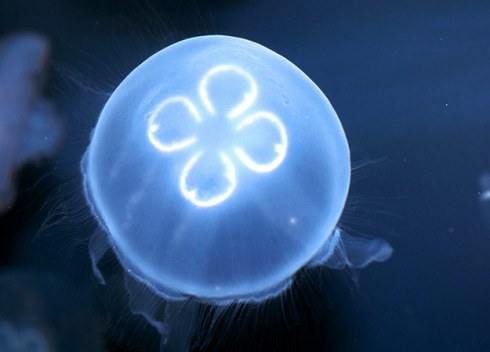
The tops of these guys remind me of the 4 ringed moon jellyfish we have in our Atlantic waters.
(Jellyfish picture from this blog)
Bridge Progress
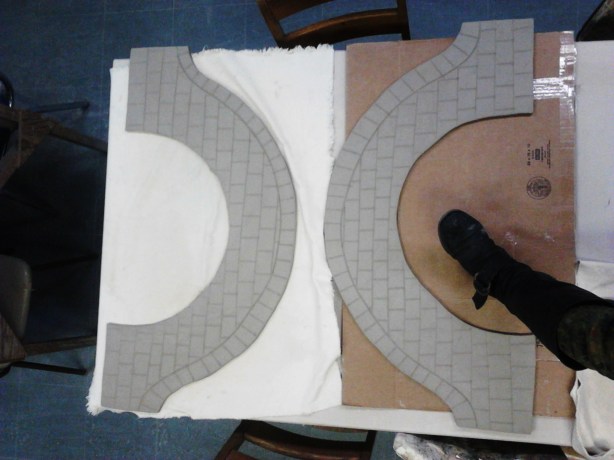
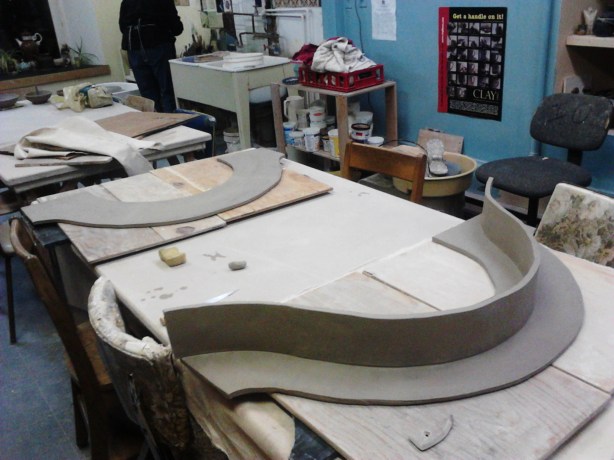
Another bridge update! I decided that I was going to assemble the bridge Wednesday evening and I did just that! Of course, with the help of Maaike, Jane and Michael because I just can’t lift those pieces on my own. Would have been a complete disaster…
Anyhow, everything worked out really great. I was really worried at first when I was just standing there… looking at the two slabs and wondering if this was really going to work at such a scale. The clay was leather hard. Bendable yet stiff and completely terrifying to move around. That’s me, standing on the table. Showing off my boot for scale.
I’m not sure if I mentioned this in earlier posts but I had to construct the archways in three pieces. So, before I did anything else, I had to flip over each side and reinforce those areas. I couldn’t do this before because the clay was too soft. Gotta love paper clay.
Before I joined the arches, I rolled the pathway for the piece. I then attached it to one side and reinforced the front and back seam line to make sure it was fused properly and securely. I thought for a a second that it might be okay on it’s own but I just couldn’t chance it.
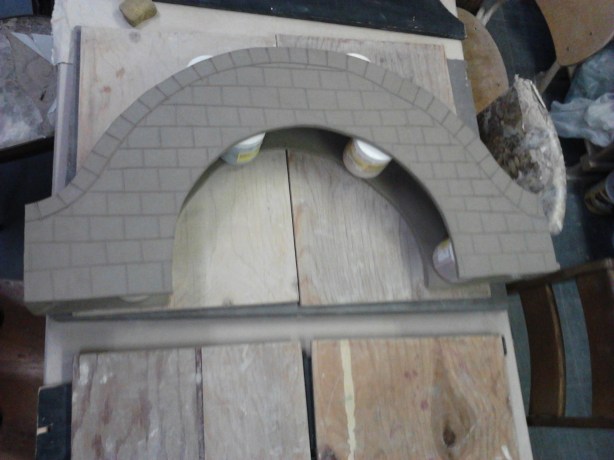
Next I was trying to find the best way to fit this monster together. Was it best to have both pieces stand up with the supporting boards and fuse them that way or lay one on top of the other and dry them flat? Both options had pros and cons but I went with the latter. My biggest problem with this method is that I needed to find numerous supports along the outside and inside of the pathway to make sure the top arch didn’t droop or sag with gravity. Me and Jane looked around the studio for a while and found that Tucker’s 1 pint glaze container’s were the perfect fit. Lifesaver they are!
So that’s what I went with and it worked wonders. When I was finished for the night I wrapped a garbage bag around it, added two boards and some weights to keep the bridge from cracking while it dried. This morning I took the supporting glaze container’s out before the piece shank too much and left the garbage bag over it to dry slowly.
Now it’s just the waiting game.
Oh another important point for anyone who is thinking about making a similar or large piece. You totally need a shrink plate for the kiln. I’ll be making one early next week. Very Very important.
Night!
So Far So Good
Alright, large bridge update.
I was going to make the whole structure tonight but after some consulting with other potters, I decided to wait until tomorrow to piece them all together. This way they’ll be leather hard (or maybe slightly harder) and easier to construct. I’m really not expecting any trouble with the paper clay. That stuff is the bomb.
Tonight I rolled out slabs, cut out the arches (Which were in three pieces because it’s sooo big.) reconstruct them and added a little bit of surface decoration. I think I’ll turn the horizontal lines into bricks tomorrow. I’m not fond of how they look at the moment; however, they will serve as break lines for the glaze and I’m hoping it will keep it from dripping too far and pooling off the base of the bridge.
So yes! This is the start. The sharpie in the middle is for scale… and it’s not a mini, it’s a jumbo!
For now, I have them drying between canvas. Thursday I’ll post the full piece. Then it’s the drying game.
*finger’s crossed*
HUGE BRIDGE!
Tonight I’m doing it. I’m making a humongous bridge for a 110 gallon aquarium for one of my old friends.
The template I made is three feet long and one and a half feet high. It’s certainly the biggest piece I’ve ever made and I’m super excited to start it. One more hour before open studio!
I’m hoping this all goes smoothly. I know bigger pieces are prone to problems, especially in the kiln where it’s so large and heavy. However, I should realize and understand it’s a learning experience and sometimes things go wrong.
Eee I’m very nervous and excited.
Mighttt post a picture later on tonight!
Wish me luck!
Two New Aquarium Pieces
Here are two pieces that came out of the kiln Saturday. (Thanks to Maaike for firing them!) I love how they turned out.
The first one is a mini bridge. I overlapped delft blue and textured kiwi and I love how both of them have the same amount of movement. The colors are soft and they totally compliment each other. Still not sure if I’m going bring this little one to the Craft Council Shop or stick it up on Etsy. I should just make a few more and have them in both places.
My second piece is a medium Newfoundland deep sea sponge. Again, I overlapped glazes but this time I used two tones of blue and the contrast is a little more subtle. It stands four inches tall which is a good size for most fish to swim through. That is, unless you have a massive tank, accompanied by massive fish.
Tiny Clay Birds with Nest and Egg!
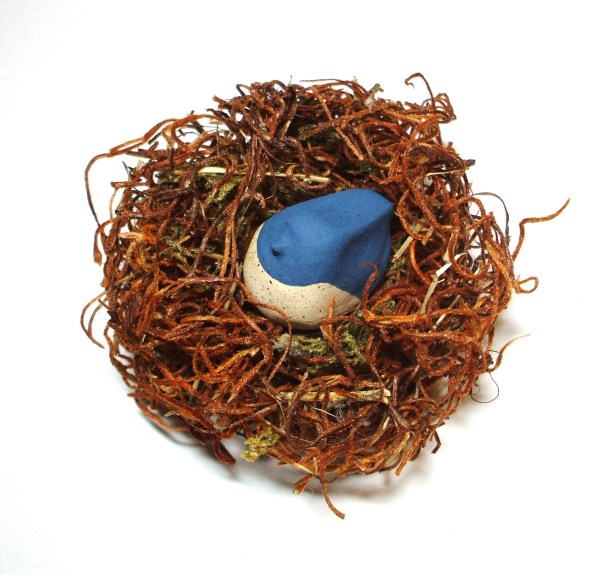
I would like to introduce one of my favorite artists that work from the Devon House Clay Studio. Her name is Christina Rees and she’s the creator of this absolutely lovely little bird I bought this spring.
As if this bird just isn’t cute enough, it also comes with a little egg and a hand built nest. For those of you who live in St. John’s, Christina will be at the St. John’s Farmer’s Market on Saturday November 26 with her adorable nested birds. She’ll have Blue Jays, Cardinals, Chickadees and more!
She also has a website for anyone interested in seeing more of her birds and paintings.


